Understanding How It Works: An In-Depth Process Explanation
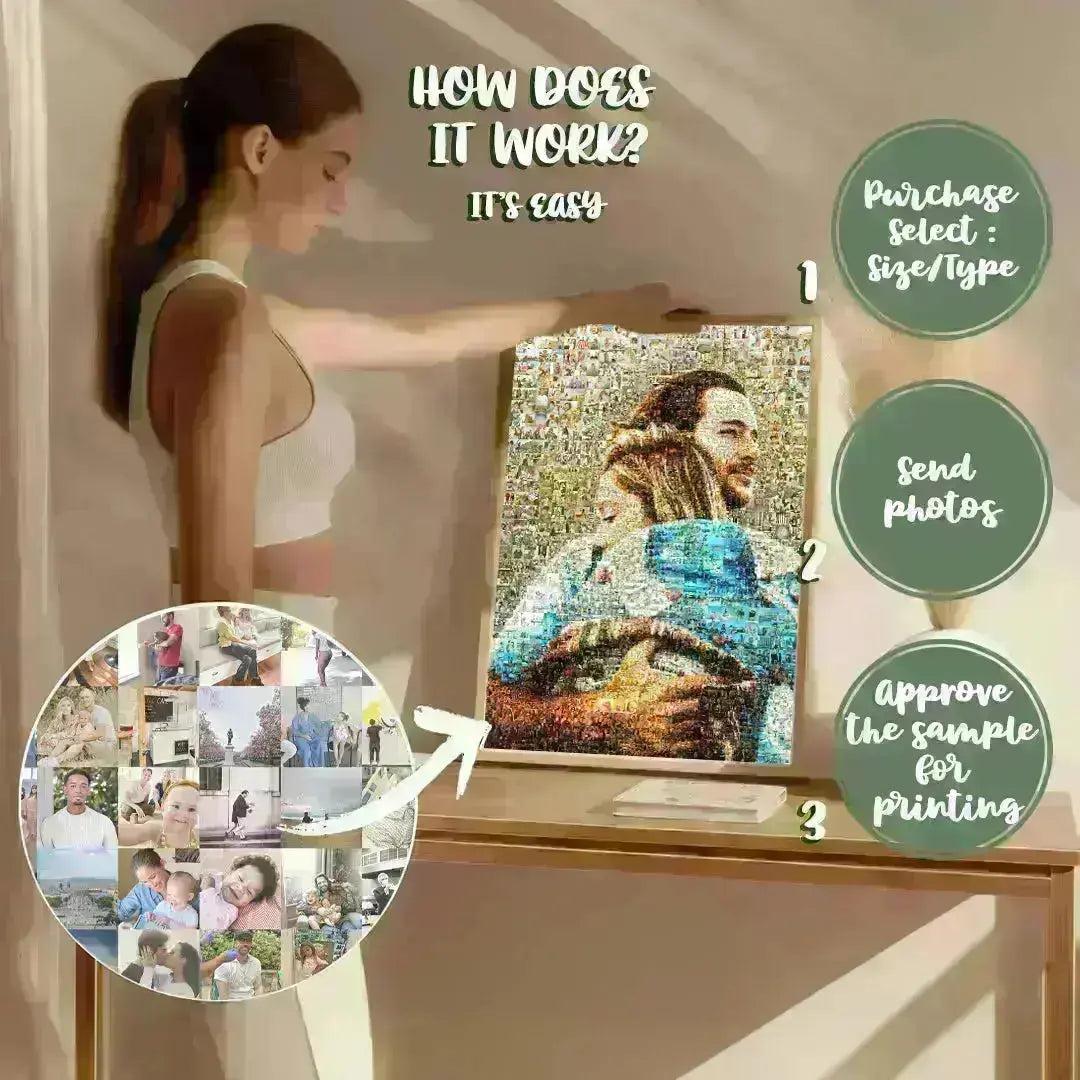
How Your Custom Mosaic Comes to Life
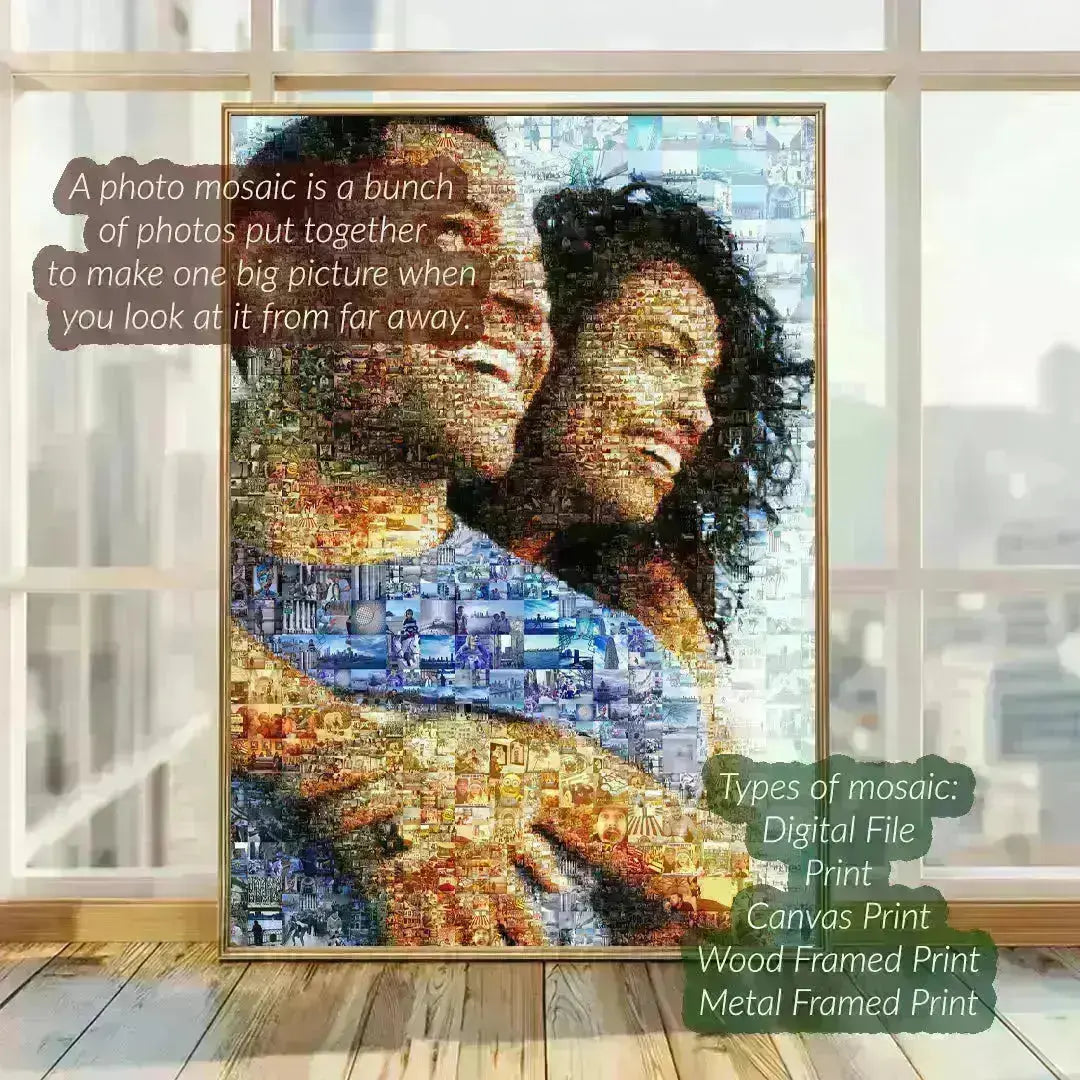
We turn hundreds of your photos into a single, stunning mosaic — handcrafted with care and designed to make your memories unforgettable. Here’s how the process works.
The Process Explanation: How It Works in Detail
We’re Seva & Halyna — a husband-and-wife team passionate about transforming memories into meaningful art. Since 2017, we’ve handcrafted thousands of custom photo mosaics with love, precision, and a deep sense of purpose.
Each mosaic is more than decoration — it’s a story told through hundreds of cherished moments. Whether it’s a wedding, anniversary, memorial, graduation, or celebration of life, we turn your photos into timeless keepsakes filled with heart. Every order is personal to us. We’re honored to help you preserve life’s most beautiful chapters in a truly unforgettable way.
How to Order a Mosaic
Step 1: Choose Your Main Photo
This is the image that will be formed using the smaller photos. For best results, choose a simple, high-quality photo with a close-up subject and minimal background detail.
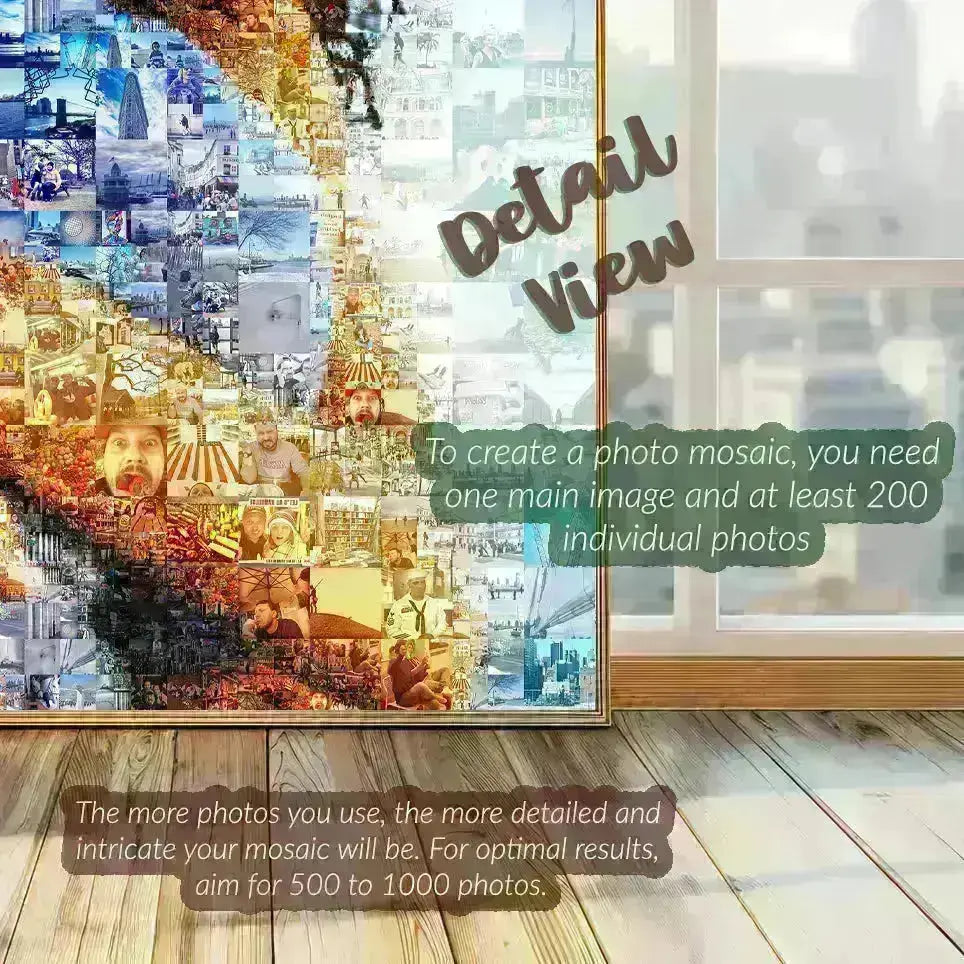
Step 2: Select Your Small Photos
The more — the better. We recommend at least 200–300 pictures. These images will fill in your main photo and create the mosaic texture. Use pictures from moments that matter.
Step 3: Upload Your Photos
You can send photos via:
Google Drive / Dropbox / Shutterfly / Amazon Photos / oneDrive/ wetransfer.com
Email your links to: support@ateliermosaics.com
Step 4: We Create and Send a Preview
Our artists design your mosaic and send a proof within 2–3 days. You’ll have a chance to request changes — we only move forward when you’re 100% happy.
Step 5: Final Delivery
After approval, we finalize and deliver your mosaic in your chosen format. Digital files are sent by email. Printed, canvas, and framed orders ship with tracking worldwide.
Production Timelines:
- Digital file – 3 business days
- Print – 12 business days
- Framed – 14 business days
- Canvas – 14 business days
Types of Photo Mosaics
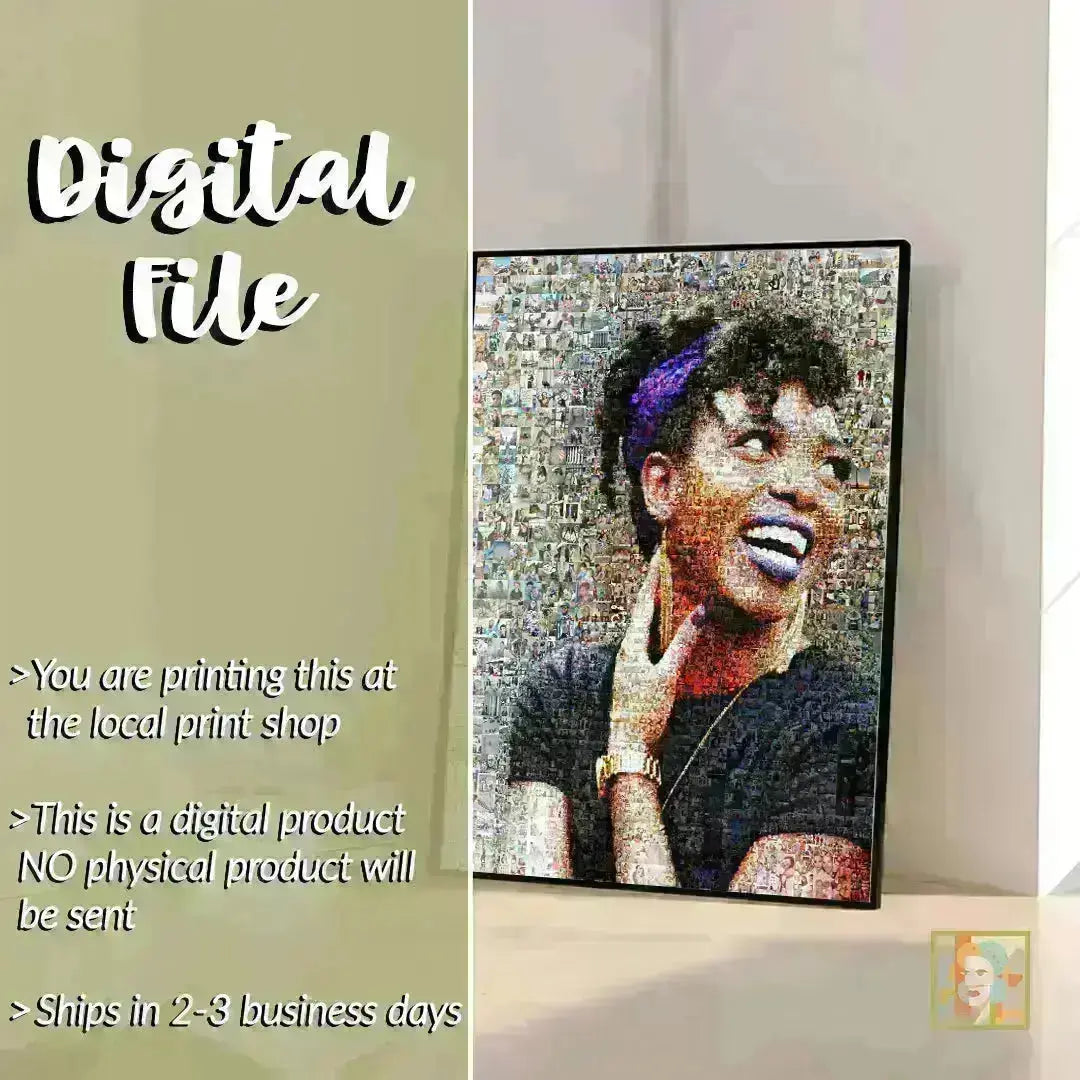
Digital File
- Delivered as high-resolution JPG (no physical product)
- Perfect for same-day local printing (Staples, Walgreens, etc.)
- Sizes: 16x20, 18x24, 24x36, 30x40 inches
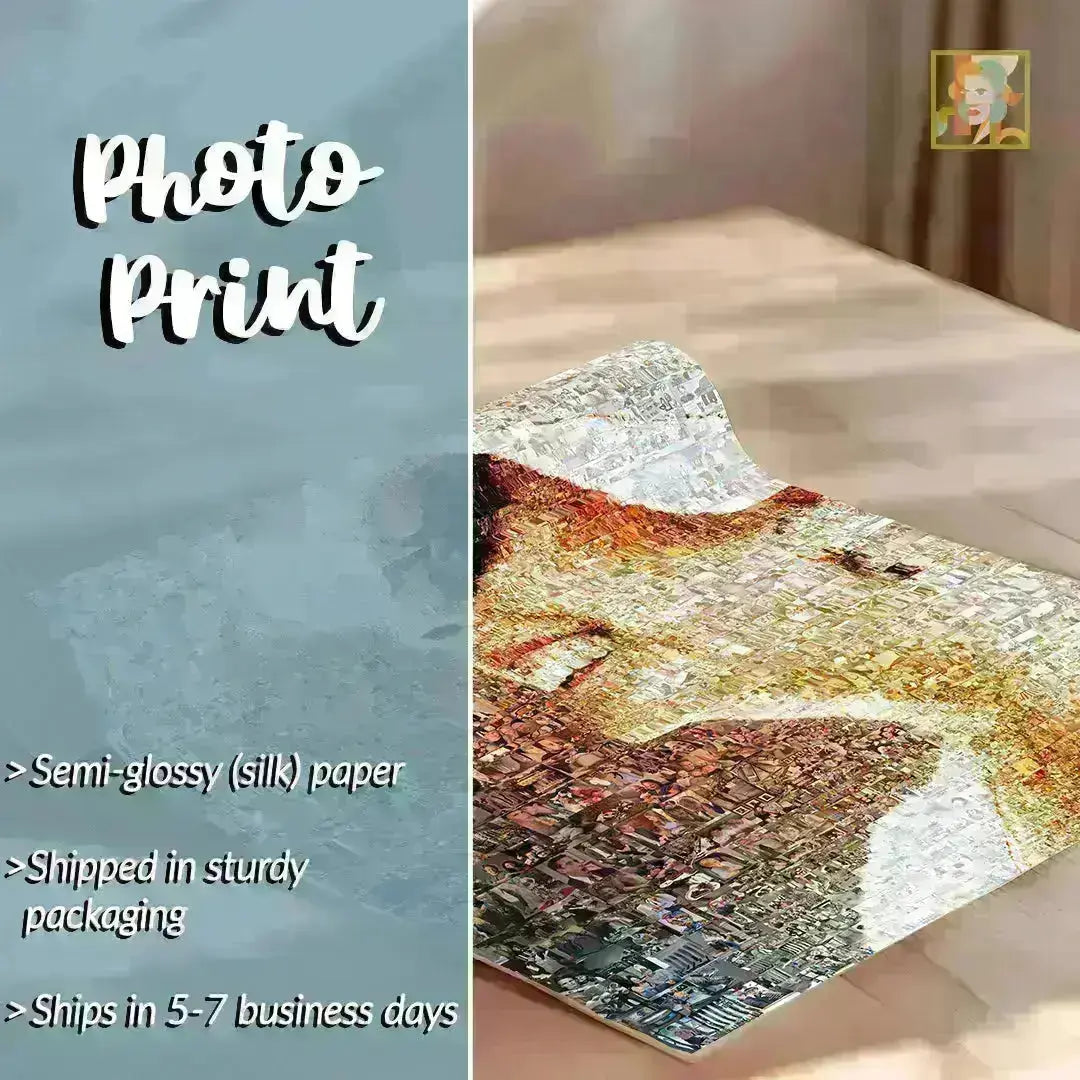
- Museum-quality semi-glossy paper (200gsm)
- Shipped in durable protective packaging
- Sizes: 16x20 to 30x40 inches
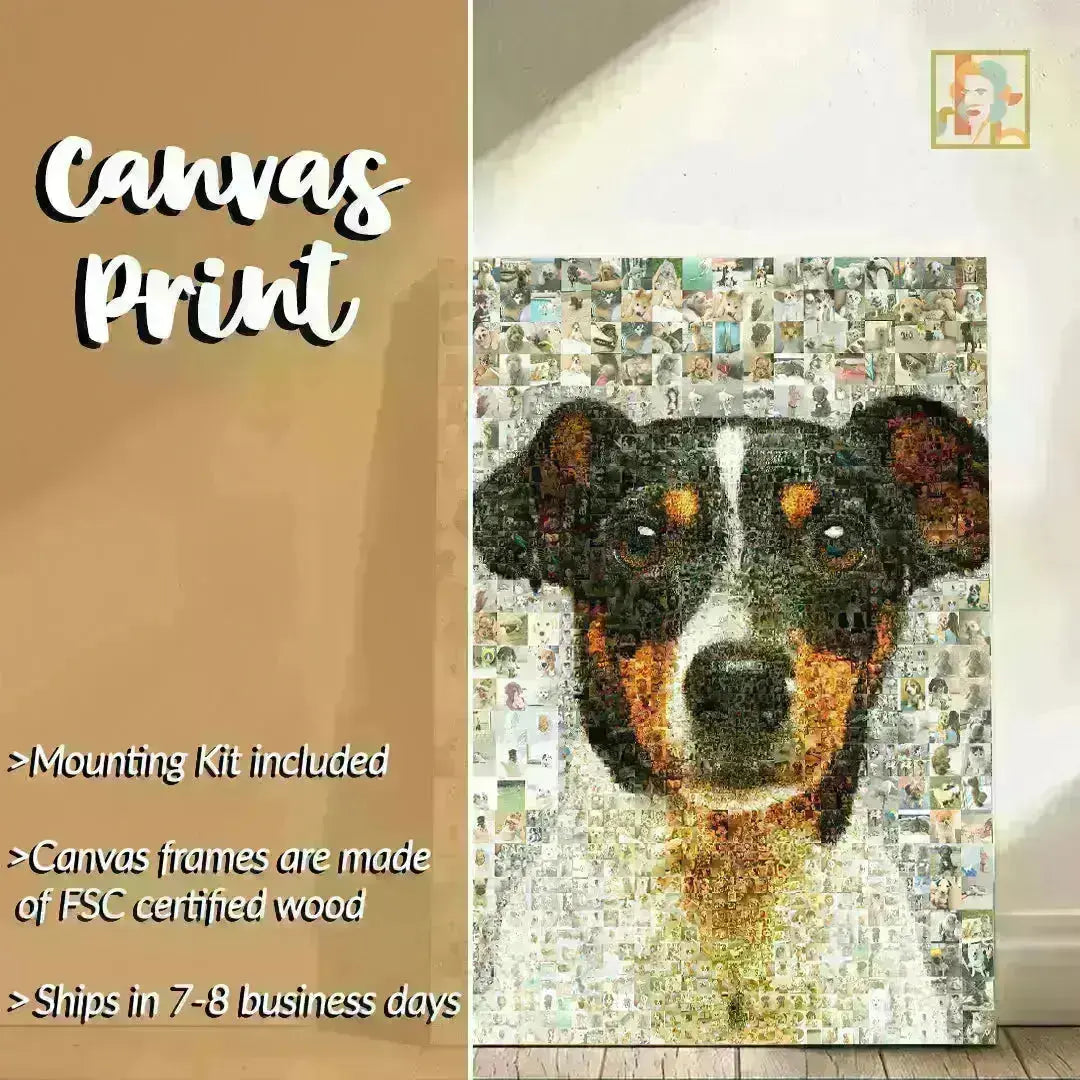
Canvas
- Premium canvas stretched on FSC-certified wooden frame
- Includes mounting kit
- Sizes: 16x20 to 28x40 inches
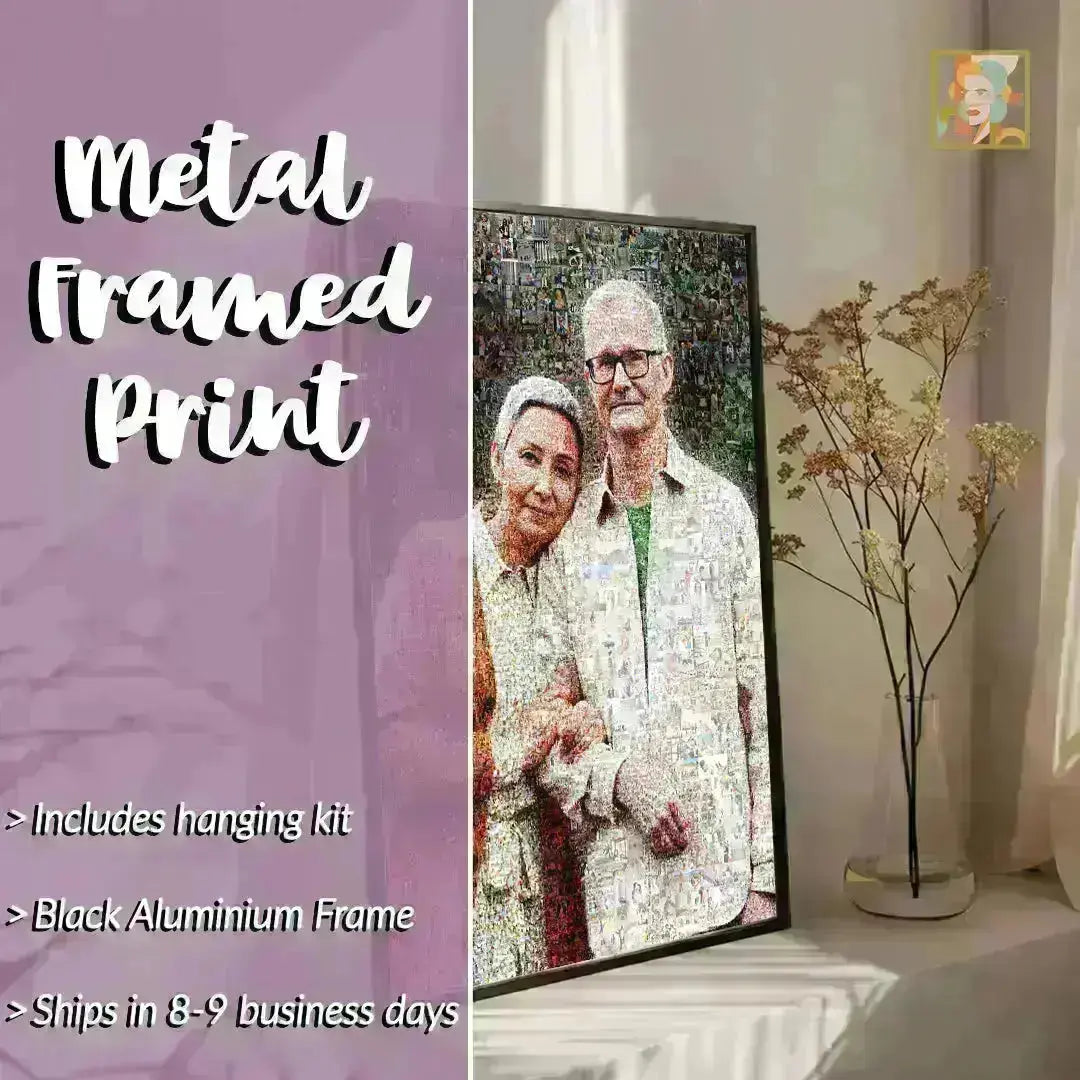
Framed Mosaic
- Ready-to-hang with plexiglass cover
- Includes hanging kit (portrait & landscape)
- Sizes: 16x20 to 28x40 inches
Shipping & Returns
Shipping: Free worldwide shipping is included with all printed, framed, and canvas orders. Delivery time depends on location. For fastest results, choose the digital version and print locally.
Returns: Since each mosaic is fully custom, returns are not accepted unless the item is faulty or damaged. However, we’re always here to help — just email us at support@ateliermosaics.com.
Free Sample
Yes, we offer free mosaic previews before you commit. Just send us your photos and we’ll show you a sample before payment — no obligation.
Contact
📧 support@ateliermosaics.com
Step 1: Understanding the Basics
The first phase of any process explanation involves understanding the key components involved. By explaining the essential elements clearly, it becomes easier for anyone to grasp how things work. This stage clarifies the roles of each component and illustrates their interactions. For instance, in many systems, one part relies on another to function correctly. Therefore, knowing these relationships is crucial for comprehensive understanding.
Step 2: Analyzing the Workflow
After establishing the basics, the next step is analyzing the workflow. Here, it's important to lay out the sequence of actions taken to achieve the desired outcome. Each step builds upon the previous one, showing how inputs are transformed into outputs. However, challenges often arise at various points in the process, so identifying these potential hurdles and addressing them is essential in this stage.
Step 3: Evaluating the Results
The final step is evaluating the results of the process. This involves reflecting on what has been accomplished and whether the goals were met. So, assessing the effectiveness of each step guides future improvements. Because every process can be optimized, understanding its outcomes offers valuable insights for enhancements. Hence, a thorough process explanation not only educates but also paves the way for future success.

Atelier Mosaic
Custom Photo Mosaic | Personalized Wall Art Gift


Collections
-

CUSTOM MOSAICS
Turn memories into museum-worthy wall art with CUSTOM MOSAICS—a photo mosaic crafted...
-

NEW YORK MOSAICS
New York City Mosaic Wall Art – Shop 154 Unique NYC Prints...
-

SINGERS MOSAICS
Explore the Vibrant World of Music Artwork in Singers Mosaics Captivating Visuals...
-

CARS MOSAIC
Classic Cars Mosaic Wall Art – Shop 51 Unique Automotive Prints Built...
-

PARIS MOSAICS
Paris Mosaic Wall Art – Shop 33 Unique Paris Prints Bring the...
-

PIN-UP MOSAICS
Discover PIN-UP MOSAICS, a photomosaic collection that transforms hundreds of vintage photos...


